
Outdoor technology often disrupts the look of carefully designed spaces with visible wires, bulky equipment, and industrial materials that clash with natural elements. Homeowners in Northern NJ, who treat outdoor areas as extensions of their homes, prioritize blending technology seamlessly into their surroundings to maintain visual harmony.
Key strategies include:
- Concealing security cameras within architectural features (eaves, vents) or natural elements (trees, rocks).
- Integrating outdoor speakers into walls, planters, or disguised as natural objects like rocks.
- Smart lighting installation that hides fixtures and wiring while complementing the landscape.
- Professional installation ensures hidden wiring, durable materials, and technology that matches the home’s design.
The goal is clear: outdoor technology should serve its purpose without standing out, prioritizing both functionality and aesthetics.
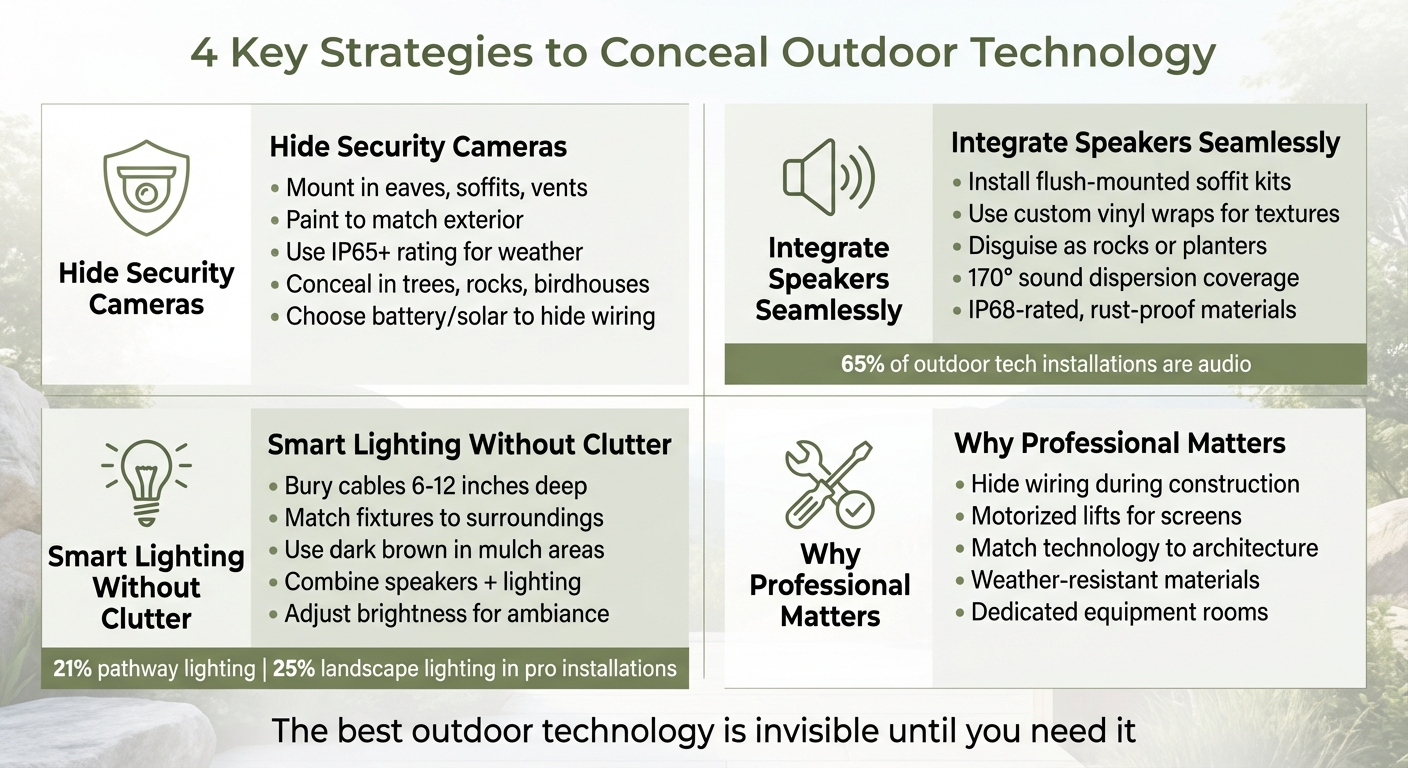
4 Key Strategies to Conceal Outdoor Technology in Your Home
How to Hide Security Cameras Outdoors
Building Cameras into Architectural Features
Blending cameras into your home’s architectural features is a smart way to keep them out of sight. Consider mounting them in spots like eaves, soffits, rain gutters, structural vents, outdoor light fixtures, or even hollow fence posts. These locations not only provide excellent vantage points but also help the cameras remain discreet [3][4]. To make them even less noticeable, paint the camera housings to match your home’s siding or trim, so they blend seamlessly with the exterior [3].
If you’re installing cameras in metal structures, ensure they maintain a strong connection through either Wi-Fi or cellular networks. For outdoor use, cameras should have at least an IP65 rating to withstand the elements, though IP66 or IP67 ratings offer even better protection against dust and water [3].
While integrating cameras into your home’s design minimizes their visibility, using natural elements can further help them blend in.
Hiding Cameras in Landscaping and Fixtures
Landscaping and built-in fixtures can serve as effective hiding spots for outdoor cameras. Trees, bushes, and decorative elements can naturally conceal cameras, especially when the devices are finished in camouflaged, earthy tones. You can also use cleverly designed objects like birdhouses, mailboxes, or sculpted rocks to house cameras. However, keep in mind that these solutions might limit access to certain advanced features [1][3][4].
To avoid giving away the camera’s location with visible wiring, opt for battery-powered or solar-powered models [3]. Regular maintenance is crucial – trim any overgrown foliage to ensure the camera’s view remains unobstructed. For year-round concealment, evergreen plants are a practical choice [4].
sbb-itb-c5b321b
Installing Outdoor Speakers That Don’t Stand Out
Hiding Speakers in Walls or Natural Elements
Outdoor speakers can practically disappear when integrated into the design of your home or landscape. For example, soffit kits enable flush-mounted installations under eaves, and when painted to match your home’s exterior, the grilles become almost invisible [5]. Achieving this clean look involves precise installation, often using router templates and internal brackets to ensure the speakers sit flush with the surface.
For an even more seamless appearance, custom vinyl wraps can be applied to match textures like wood siding, brick, or shrubbery. This technique is especially useful in areas where speakers can’t be hidden behind architectural features or natural elements.
"A photograph of the surrounding wood siding, brickwork, shrubbery, etc., is applied to the speaker helping it blend further into the background." – Brian Azzano, Vice President, Stealth Acoustics [5]
Another option is integrating speakers into the landscape itself. Ground-staked satellite speakers, buried subwoofers, or units disguised as rocks and planters can be strategically placed in garden beds. Modern designs with 170° sound dispersion ensure even audio coverage, avoiding the concentrated sound that traditional speakers often produce. This wide coverage is particularly appealing for homeowners in Northern New Jersey who want uninterrupted sound across patios and pool areas without the visual distraction of exposed equipment [5].
By combining technical solutions with finishes that match the surroundings, outdoor speakers can be practically invisible.
Choosing Speaker Finishes That Match Your Home
The right finish can make outdoor speakers blend seamlessly with their environment. High-end models are often designed to mimic landscape lighting fixtures, allowing them to integrate effortlessly into garden layouts [1]. This approach creates a cohesive look, making your audio system appear as part of your outdoor lighting design rather than standalone equipment.
Speakers built with sealed, IP68-rated enclosures and non-metallic exteriors are not only durable but also low-maintenance. These materials prevent rust and can be cleaned easily with a garden hose, eliminating the need for repainting grilles over time. For added discretion, speakers disguised as planters or natural rocks can deliver excellent sound without drawing attention to themselves [1].
"The no-metal exterior means no rusty speaker grilles! StingRay speakers are designed to last a lifetime in outdoor conditions." – Brian Azzano, Vice President, Stealth Acoustics [5]
Involving architects and designers early in the planning process ensures that speakers are integrated into the structure from the beginning, rather than being added later as an afterthought. Since audio accounts for 65% of outdoor technology installations [5], thoughtful placement and finishing are key to achieving both functionality and aesthetic harmony.
Using Smart Landscape Lighting Without Visual Clutter
Integrating Lighting into Pathways and Garden Beds
Smart landscape lighting enhances outdoor spaces by blending practicality with visual appeal. Pathway lighting, a favorite in outdoor design, features in 21% of professional installations [7]. The goal is to discreetly incorporate fixtures into the environment while ensuring effective illumination.
To keep wiring out of sight, bury cables 6–12 inches deep and protect them with hollow PVC pipes for durability and easier maintenance. In garden beds, a 2–5-inch mulch layer can effectively hide wires. Always test your setup over several nights to fine-tune placement and avoid unnecessary adjustments.
Select fixtures that complement their surroundings. For example, use dark brown fixtures in areas with dark mulch, stone-like designs in rock gardens, or fixtures integrated into planters on patios. Some advanced systems even combine outdoor speakers with lighting, minimizing the need for additional hardware and maintaining a clean look [1]. This design approach mirrors the integration of cameras and speakers, creating a seamless outdoor technology setup.
If replacing traditional lights isn’t practical, you can add smart functionality using weatherproof outdoor smart plugs rated IP64 [6]. These allow you to automate schedules and adjust brightness without overhauling your existing system. By carefully planning and selecting your lighting, you ensure both functionality and aesthetic cohesion in your outdoor space.
Setting the Right Brightness and Color Temperature
After installation, managing light output is just as important as concealing the fixtures. Landscape lighting now features in 25% of professional outdoor technology projects [7], with the most effective designs integrating outdoor lighting into the home’s broader control system, rather than treating it as a separate feature.
Opt for earthy tones and neutral colors to connect your outdoor lighting with the natural environment and your home’s design. For added versatility, dimmable smart string lights with multicolor LED bulbs offer preset scenes that can harmonize with your surroundings [6].
Adjusting brightness is key to balancing safety and ambiance. Use brighter settings for pathways to enhance visibility, while softer lighting in garden beds creates a more inviting atmosphere. Dimmable features make it easy to achieve this balance. As noted by CE Pro:
"The biggest challenge is working with the hardscape contractors and architects to make changes… the client does not want to see any of the technology, but still wants the performance on a budget" [7].
Collaborating with architects and designers early in the process ensures that lighting integrates seamlessly with both the interior and exterior design. Matching hardware finishes to your home’s facade further prevents fixtures from standing out, maintaining a cohesive and polished look [7].
Why Professional Installation Makes the Difference
Hiding Wires and Equipment
One of the most striking differences between a DIY outdoor setup and a professionally installed system lies in what you don’t see. Professionals carefully plan low-voltage wiring during the "open-stud" phase of construction or remodeling. By embedding infrastructure within walls, ceilings, and landscaping before finishes are added, they ensure a clean, polished look.
Equipment like racks, routers, and control hubs are tucked away in dedicated, cooled mechanical rooms, far from living spaces or outdoor entertainment areas. This eliminates the need for visible components near patios, pools, or other outdoor spots. Weatherproof access points are also strategically placed in discreet locations – like nooks or cabinetry – ensuring full network coverage without cluttering the view with visible devices or antennas [1].
For outdoor screens, professionals often use motorized lifts to conceal televisions when not in use. These lifts can hide screens underground, within outdoor bars, or in pavilion rooftops, preserving the beauty of your landscaping while still offering entertainment on demand [1]. Beyond hiding wiring and equipment, professionals also focus on blending technology seamlessly into your home’s design.
Matching Technology to Your Home’s Architecture
Professional installation goes beyond functionality – it ensures that technology complements your home’s aesthetic. Collaborating with architects and designers, integrators make sure the technology enhances, rather than disrupts, the architectural vision. Jackson Kelly, a technology and installation expert, explains:
"Architechne’s technology and installation experts bridge the gap between your architect’s aesthetic vision and your functional needs as the homeowner" [2].
This attention to detail extends to every element. For instance, small-aperture speakers can be designed to match the 2-inch footprint of luxury recessed lighting, making them nearly invisible [2]. Custom-engraved keypads simplify controls for lighting, audio, and climate into a single, elegant interface, reducing the clutter of multiple switches and thermostats on your walls [2].
In outdoor spaces, professionals choose fixtures that blend with the surrounding materials and finishes. Cameras can be incorporated into lamps or architectural features, while speakers might take the form of rocks, planters, or landscape lighting [1]. The goal is to create a seamless integration where technology feels like a natural part of your home.
Once the design and installation are complete, the focus shifts to ensuring the system stands the test of time.
Building Systems That Last
Durability is another area where professional-grade systems outshine consumer products. It begins with a solid foundation: a robust network backbone built with weatherproof components and carefully planned placement to handle the challenges of Northern New Jersey’s diverse weather conditions [1].
Conclusion: Balancing Technology and Design
Hiding outdoor technology enhances both functionality and appearance when approached thoughtfully and executed by professionals. The methods discussed here – from incorporating technology into architectural elements to using clever concealment techniques – underscore a simple idea: the most effective technology is invisible until it’s needed.
In Northern New Jersey, concealed technology has become the norm. Exposed devices and visible wiring no longer convey sophistication; instead, they can diminish the overall design. Achieving this harmony requires careful planning and skilled installation.
True integration starts with foresight and expertise. When technology is incorporated during the construction or renovation phase, it becomes part of the home’s framework. Features like custom niches for motorized shades, low-voltage wiring embedded within walls, and dedicated spaces for equipment ensure a polished, seamless result.
Additionally, using weather-resistant materials and discreet wiring safeguards your investment from the challenges of Northern New Jersey’s climate while maintaining long-term reliability.
The ultimate aim is to combine cutting-edge functionality with natural aesthetics, creating a home that operates effortlessly while keeping the technology out of sight.
FAQs
What’s the best place to hide outdoor cameras without losing coverage?
The ideal locations for placing outdoor cameras strike a balance between staying hidden and covering important areas effectively. Consider positioning cameras behind features like eaves, gutters, or decorative elements, which naturally conceal them while preserving a clear view. Another option is to use camouflaged housings that blend seamlessly into the surroundings, such as garden ornaments or foliage. These approaches help maintain security without disrupting the look of your outdoor space.
How do hidden outdoor speakers still sound good across a patio or pool?
Hidden outdoor speakers provide high-quality sound throughout patios or pool areas thanks to their weather-resistant construction and thoughtful positioning. They are cleverly incorporated into cabinets, tucked into nooks, or disguised within landscaping features, allowing them to seamlessly blend into the surroundings while delivering impressive audio clarity.
When should outdoor wiring be planned during a remodel or new build?
Planning outdoor wiring early in a remodel or new construction project is crucial for achieving a seamless and tidy setup. By working closely with architects and designers during the initial stages, you can integrate wiring directly into the structure. This allows for discreet placement of weatherproof outlets, network devices, and other outdoor electronics. Taking this proactive approach helps maintain a clean, visually pleasing outdoor space without sacrificing functionality.